
Buying a house is one of the most exciting, yet nerve-wracking, milestones you will ever experience. It is incredibly easy to walk into an open house, fall in love with the vaulted ceilings, the updated kitchen cabinets, or the perfectly manicured backyard, and completely overlook the hidden veins of the property. The fresh coat of neutral paint and the strategically placed staging furniture are designed to create an emotional connection, but they also effectively mask severe underlying property issues. Ignoring the home’s infrastructure—specifically its water and waste systems—can turn your dream home into a severe financial burden within weeks of moving in.
Unmanaged water is the single most destructive force in a residential property. While a faulty electrical outlet might trip a breaker and a drafty window might slightly increase your heating bill, an unseen water issue can cause widespread structural rot, toxic mold infestations, and foundational failure. A house is a living system, and water represents its circulatory system. If that system is compromised, the entire structure is at risk.
This comprehensive guide is designed to provide you with a step-by-step framework to investigate a property’s water and waste infrastructure. By knowing exactly what to look for, what questions to ask, and when to bring in specialized professionals during your due diligence period, you will empower yourself with the knowledge needed to negotiate effectively, demand repairs, or confidently walk away from a disastrous deal before you sign the closing documents.

Assess the Main Water and Sewer Connections
The most expensive and disruptive infrastructure issues rarely occur inside the walls; they happen underground. The lines connecting your prospective home to the municipal water supply and the city sewer system (or private well and waste systems) are entirely out of sight, meaning they are almost always out of mind for the average buyer. Assessing these main arteries is the most critical first step in your due diligence process.
Request a Camera Inspection of the Underground Lines
Never skip the sewer scope. Standard home inspectors will run water down the sinks and flush the commodes to ensure things drain, but this superficial test only tells you that the line isn’t completely blocked at that exact second. It tells you nothing about the condition of the pipe carrying waste away from the home.
- Understand the threat of tree roots: Older homes, particularly those built before the 1980s, often utilize clay or cast-iron sewer lines. Over decades, tiny shifts in the soil cause micro-fractures in these pipes. Trees and large shrubs naturally seek out moisture and nutrients, sending microscopic feeder roots into these cracks. Once inside, the roots expand, acting like a net that catches debris and eventually crushes the pipe.
- Identify pipe bellies and collapses: Ground settling can cause sections of the sewer line to sink, creating a “belly” where waste and water pool instead of flowing to the municipal connection. Over time, this stagnant water degrades the pipe and causes massive backups.
- The financial impact of discovery: A specialized video inspection allows you to see the exact condition of these underground lines. Catching these blockages early can mean the difference between paying for standard drain cleaning and funding massive, landscape-destroying excavations for local pipe repairs. If a camera reveals a collapsed line under a concrete driveway, you need to know before you buy, as fixing it can cost tens of thousands of dollars.
Verify the Age and Material of the Supply Lines
The pipes bringing fresh water into the home are just as important as the ones taking waste away. The materials used for residential water supply lines have evolved significantly over the last century, and some materials used in the past are now known ticking time bombs.
- Beware of Polybutylene: Used extensively from the late 1970s to the mid-1990s, polybutylene (PB) pipes react with the chlorine found in municipal water supplies. This reaction causes the pipes to become brittle and flake from the inside out, eventually leading to catastrophic, unprovoked bursting. If a house has PB piping, it is highly recommended to negotiate a full replacement before closing.
- Watch out for Galvanized Steel: Common in homes built before 1960, galvanized steel pipes corrode internally. While they may look fine on the outside, the inside diameter shrinks as rust builds up, severely restricting water flow and eventually causing the pipe to fail.
- Look for Copper and PEX: These are the modern gold standards. Copper is highly durable and resistant to bacteria, though it can be susceptible to freezing. PEX (cross-linked polyethylene) is a flexible plastic that is highly resistant to freezing and scale buildup, making it the preferred material for modern installations.
Check the Functionality of the Main Shut-Off Valve
In the event of a burst pipe or a massive leak, your ability to stop the flow of water into the house immediately is the only thing standing between a minor inconvenience and a flooded home.
- Locate the valve: The main shut-off valve is usually located in the basement, in a crawlspace, on an exterior wall, or near the water meter near the street. Make sure you can actually find it.
- Test for resistance and corrosion: Do not just look at it; ask your inspector to physically turn it. Older gate valves are notorious for seizing up over time. If the valve is rusted shut or incredibly difficult to turn, it will be useless to you in a panic-inducing emergency.

Scrutinize the Everyday Indoor Fixtures
Once you have established that the underground and main supply lines are in acceptable condition, it is time to turn your attention indoors. The daily fixtures—sinks, showers, tubs, and commodes—endure relentless wear and tear. While minor cosmetic upgrades are cheap, hidden damage caused by failing fixtures is not.
Test the Water Pressure in Every Room
Low water pressure is often treated as a minor annoyance, but it is frequently a symptom of a much larger systemic failure. Testing the pressure requires simulating the maximum daily demand on the house’s water system.
- The stress test: Go to the highest floor of the house. Turn on the shower to the hottest setting. While the shower is running, turn on both the hot and cold water in the bathroom sink, and then flush the commode.
- Analyze the results: If the shower head suddenly reduces to a trickle or the water temperature swings wildly, the house has a pressure or volume issue.
- Determine the root cause: This drop in pressure could be caused by something as simple as mineral buildup in the showerhead aerator, or it could indicate that the home’s main supply line is choked with rust or scale. It could also mean the water heater is undersized for the property.
Look for Hidden Water Damage and Mold
Water always finds the path of least resistance, and gravity dictates that it will pool in the lowest accessible areas. Home staging often attempts to cover up the evidence of chronic moisture issues.
- Inspect the cabinetry: Open the doors under every sink in the kitchen and bathrooms. Empty any items stored there and press firmly on the bottom of the cabinet. If the wood feels soft, spongy, or is visually warped and stained, there is an active or historical leak.
- Check the ceilings and floors: Look closely at the ceilings directly below upstairs bathrooms for faint yellow or brown water rings. On the floors, look for baseboards that are swollen or separating from the wall.
- Investigate musty odors: Trust your nose. If a basement, crawlspace, or bathroom smells earthy or musty, moisture is trapped. Mention that these subtle signs often require advanced leak detections using thermal imaging to find water escaping behind the drywall, as visual inspections alone cannot see behind the paint.
Evaluate the Flush Mechanisms and Base Seals
Commodes are heavy, frequently used fixtures that hold a significant amount of standing water. When their seals fail, the damage to the surrounding floor structure can be extensive and expensive.
- The stability test: Straddle the bowl and gently push your leg against the base of the commode. It should be rock solid. A wobbly base or a constantly running tank indicates that an immediate toilet repair is necessary before the subfloor rots completely.
- Inspect the wax ring: If the base is loose, the wax ring that seals the fixture to the drainpipe has likely been compromised. Every time the unit is flushed, water is seeping underneath the flooring, rotting the subfloor, and potentially dripping into the ceiling below.
- Check the tank hardware: Remove the lid from the tank and look at the fill valve and flapper. If the metal components are heavily rusted or the rubber flapper is degrading and leaving black residue on your fingers, the internal mechanisms are at the end of their lifespan and will need immediate replacement to prevent water waste.

Navigate Complex Systems in Unique Properties
Not every home is a standard, single-family suburban build. If you are purchasing a unique property, the standard home inspection checklist is simply not enough. Properties with high occupancy limits, older historical designations, or heavy-duty infrastructure require a specialized approach to due diligence.
Identify Upgraded or High-Capacity Equipment
When dealing with multi-family estates, converted mixed-use properties, or homes equipped with industrial-grade kitchens and massive spa bathrooms, the water demands far exceed standard residential limits.
- Assess massive water heaters and boilers: Large properties often utilize cascading tankless water heater systems, massive commercial boilers, or complex manifold distribution systems. These are not standard units that can be swapped out in a few hours by a handyman.
- Evaluate specialized drainage: Industrial kitchens or heavy-use laundry facilities often require grease traps or enlarged drainage pipes to handle the volume and type of waste being produced.
- Acknowledge the crossover: Explain that these robust setups often cross over into commercial plumbing territory. They require specific municipal compliance, heavy-duty parts that must be specially ordered, and a deeper understanding of fluid dynamics and volume control than a standard residential setup.
Verify Permits for Major Renovations and Additions
Flipped homes and older properties with multiple owners are notorious for unpermitted work. While a newly finished basement bathroom or a sleek new wet bar might look fantastic on the surface, the infrastructure hidden behind the new drywall might be a disaster waiting to happen.
- Cross-reference public records: Go to the local municipal building department and request the permit history for the property address. Compare the official records with the actual layout of the house. If the house is listed as having two bathrooms, but you are standing in a newly added third bathroom in the basement, you have a major red flag.
- The dangers of DIY infrastructure: Unpermitted work is often done by amateur flippers or homeowners trying to save money. They may have used incorrect pipe slopes, failed to install proper venting (which prevents sewer gases from entering the home), or illegally tapped into existing lines that cannot handle the increased capacity.
- The legal and financial consequences: If the municipality discovers unpermitted work after you purchase the home, you become legally responsible for it. You might have to hire a licensed plumbing contractor to completely tear out the unpermitted work, rip up the new tile, and bring the entire system up to code at your own expense.
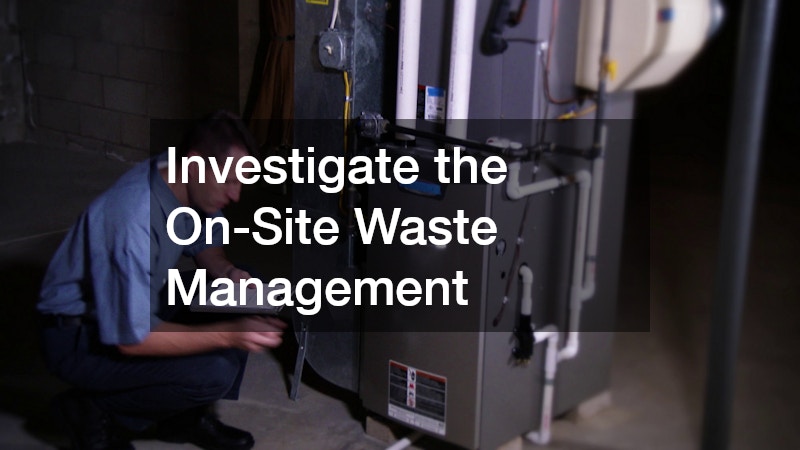
Investigate the On-Site Waste Management
If you are buying a property in a rural area, on the outskirts of a city, or in a highly established older neighborhood, there is a strong chance the home is not connected to a municipal sewer system. Instead, it relies on an on-site septic system. This system is entirely your responsibility, and replacing a failed one can cost as much as buying a brand-new car.
Locate and Inspect the Drain Field
The drain field (or leach field) is the final destination for the liquid waste exiting the home. It is a network of perforated pipes buried in trenches that allow the effluent to slowly filter back into the soil. If the field fails, the entire system backs up into the house.
- Walk the property intentionally: Do not just admire the landscaping; look for anomalies. Are there unusually lush, bright green patches of grass in one specific area of the yard, even during a dry season? This is a sign that nutrient-rich waste is pooling near the surface.
- Look for pooling water and foul odors: If the ground is spongy, constantly wet, or emits a distinct sewage odor, the drain field is saturated and failing.
- Check for encroachments: Ensure that there are no heavy structures (like a shed, a paved driveway, or an above-ground pool) sitting on top of the drain field area, as the compacted soil will destroy the system’s ability to filter water.
Review the Pumping and Maintenance Logs
A waste management system requires regular, documented maintenance to function correctly over its lifespan.
- Demand the paperwork: Ask the seller to provide formal, written history of the system’s maintenance. You need to know exactly when the tank was last pumped, who pumped it, and if any repairs have been made recently.
- Analyze the pumping frequency: Depending on the size of the tank and the number of people living in the house, a tank should generally be pumped every three to five years. If the seller has lived there for ten years and never pumped the tank, the system has been severely abused.
- Understand the risks of neglect: Warn that a neglected tank can lead to solid waste escaping the primary chamber and entering the delicate drain field lines, causing irreversible clogging and a catastrophic, property-ruining septic tank repair.
Mandate an Independent System Pumping
Never rely solely on a visual inspection of the ground above the tank, and never let the seller dictate who performs the inspection. You must take control of this specific piece of due diligence.
- Write it into the contract: Make your offer contingent on a satisfactory inspection of the waste system, specifically requiring that the tank be pumped dry during the inspection process.
- Why empty the tank? You cannot inspect the structural integrity of a concrete or fiberglass tank while it is full of waste. Once it is pumped dry, a professional can look for internal cracks, root intrusions, and the condition of the crucial inlet and outlet baffles.
- Hire the right professional: Stress that a general home inspector is not qualified for this; a specialized plumber must evaluate the structural integrity of the empty tank, assess the biological health of the system, and provide a binding report on its viability.
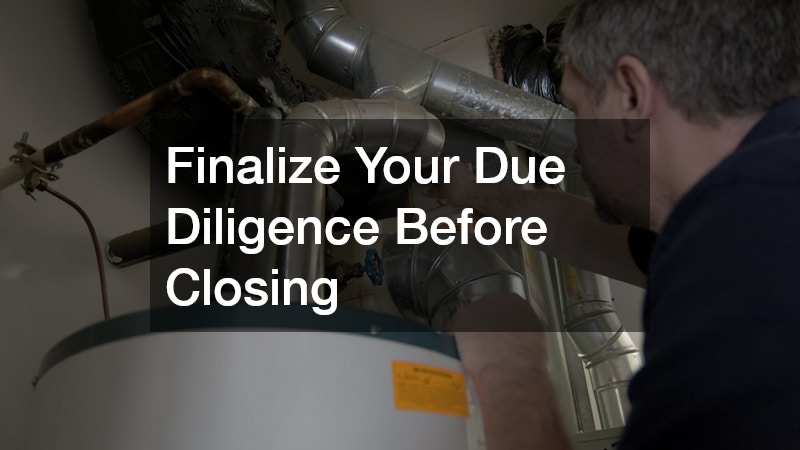
Finalize Your Due Diligence Before Closing
Once all the inspections are complete, you will be handed a massive stack of reports detailing everything wrong with the property. Do not panic. No house is perfect, not even a brand-new build. The purpose of these inspections is to give you leverage and clarity before you sign the final, legally binding documents.
Request Seller Concessions for Discovered Flaws
You are not obligated to accept the house “as-is” if major issues were discovered during your contingency period. You have the right to negotiate based on the facts presented in your professional reports.
- The repair vs. credit debate: You can ask the seller to hire professionals to fix the identified issues before closing. However, sellers are often motivated to do this as cheaply as possible. A better strategy is to ask for a financial credit (a reduction in the sale price or cash toward your closing costs) so you can hire the professionals yourself after you take possession.
- Use the reports as leverage: Provide the seller with the exact pages of the inspection reports detailing the necessary infrastructure fixes. It is hard for a seller to argue against video evidence of a collapsed sewer line or thermal imaging of a hidden leak.
- Know your walk-away point: Decide in advance which issues are dealbreakers. If a seller refuses to address a massive, impending system failure, you must be willing to walk away from your earnest money to save yourself from a decade of financial ruin.
Establish a Preventative Maintenance Plan
If you successfully negotiate the purchase and move forward with closing, your mindset must shift from buyer to owner. The best way to protect your new investment is to be proactive rather than reactive.
- Familiarize yourself with the systems: On moving day, map out every shut-off valve, locate the cleanout access points, and label the electrical breakers associated with your water heater and well pump.
- Build your contact list early: Do not wait until your basement is flooding at 2:00 AM on a holiday weekend to start looking for help. Recommend researching and vetting a reputable plumbing company in your new neighborhood before you actually experience a midnight emergency. Read reviews, check their licensing with the state board, and ensure they offer 24/7 support.
- Schedule baseline maintenance: Within the first six months of ownership, have your water heater flushed, your HVAC condensate lines cleared, and your main lines jetted to establish a clean baseline for your new home.
Review Your Home Warranty Coverage Thoroughly
Many real estate transactions include a one-year home warranty, often paid for by the seller as an incentive. While these policies can offer peace of mind, they are infamous for their loopholes and exclusions.
- Read the fine print: Do not assume that a home warranty covers every pipe and fixture in the house. Many policies explicitly exclude pre-existing conditions, which is why having your own thorough inspection reports is vital to prove the system was working on the day you closed.
- Understand coverage limits: Clarify whether the policy covers comprehensive plumbing services and appliance replacements (like a completely failed water heater), or if it only covers absolute baseline emergencies with high deductibles and strict payout caps.
- Know the service provider rules: Most warranty companies require you to use their contracted technicians. You usually cannot call your own preferred professional and expect the warranty company to reimburse you. Understand this process before an emergency strikes so you know exactly who to call.
Purchasing a home is likely the largest financial investment you will ever make, and protecting that investment requires looking far beyond the cosmetic appeal of the property. By systematically inspecting the main lines, the indoor fixtures, and the waste management systems, you are actively protecting your future financial stability. Finding infrastructure flaws during the inspection period gives you incredible leverage at the negotiating table; finding them after moving in simply gives you a massive, unexpected bill. Take your time, hire specialized professionals, ask difficult questions, and approach the closing table with absolute confidence and peace of mind.