
Dreaming of upgrading your entire property can quickly turn overwhelming once you start pricing out contractors, materials, and timelines. Between the roof, the yard, the heating system, and everything in between, it is easy to either overspend or tackle projects in the wrong order. The good news is that a full property upgrade does not have to mean financial stress if you map out priorities, get the right estimates, and sequence the work strategically.
This guide breaks down how to plan room by room and system by system so your money goes where it matters most.
Start With a Roof Inspection Before Anything Else
Before you spend a dollar on cosmetic upgrades, get a clear picture of your roof’s condition since it protects every other investment you make on the property. A damaged or aging roof can quietly cause water intrusion that ruins new flooring, fresh paint, or updated insulation before you even notice the leak. Scheduling an inspection early in your planning process gives you real numbers to work with instead of guesses, which makes budgeting for everything else far more accurate.
Getting quotes from a few roofing companies also helps you understand whether you need a full replacement or just targeted repairs, and that distinction can swing your budget by thousands of dollars. Many roofers offer free assessments and can point out issues like deteriorating flashing or worn shingles that are easy to miss from the ground. Treat this as the foundation of your upgrade plan, since everything else you do should assume the roof over it will hold up for years to come.
- Ask for photos of problem areas during the inspection so you can track changes over time
- Request a written estimate that breaks down labor and material costs separately
- Confirm whether the warranty covers both materials and workmanship
- Find out how weather delays might affect the project timeline
Evaluate Your Exterior Siding and Weatherproofing
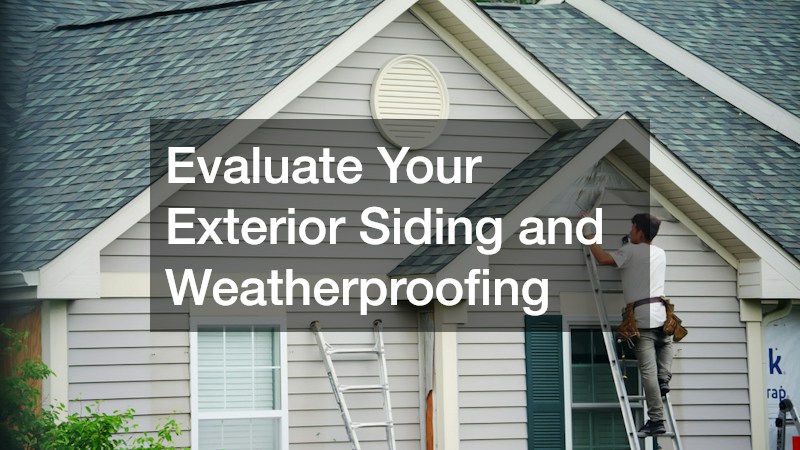
Once the roof is accounted for, turn your attention to the exterior walls, since siding does more than affect curb appeal. It acts as a barrier against moisture, pests, and temperature swings, and when it fails, the damage often spreads to the framing underneath. Cracked, warped, or faded siding is a sign that your home’s weatherproofing may no longer be doing its job effectively. Walk the perimeter of your home and look closely at every section, not just the areas visible from the street. Check for gaps at corners and seams, soft spots you can press in with a finger, and any bubbling or peeling paint, since these are early signs that moisture is getting trapped behind the material. Pay extra attention to the bottom few feet of siding near grade level, as splashback from rain and sprinklers tends to accelerate rot and mold growth there.
The type of siding you have also determines what kind of wear to expect. Wood siding is prone to rot and insect damage and typically needs repainting or staining every 5 to 7 years; vinyl can crack or warp in extreme temperatures and is difficult to patch invisibly; and fiber cement holds up well but can chip at the edges if not properly sealed. Knowing these failure patterns helps you budget for repair versus full replacement. Don’t overlook the caulking and flashing around windows, doors, and utility penetrations, since these small gaps are responsible for a disproportionate amount of air and water infiltration. Resealing these areas can cost a few hundred dollars but may delay the need for a full siding replacement, which can run anywhere from $8,000 to $20,000 or more depending on home size and material. Catching these issues now prevents a cosmetic problem from becoming a structural one.
Bringing in siding contractors for a walkthrough can reveal issues that are not obvious at a glance, such as soft spots that indicate rot, warped panels, or gaps where water has been seeping in behind the surface. A good contractor will also check for signs of pest damage near the foundation line and test moisture levels with a probe, since trapped water can quietly compromise your sheathing long before stains appear on the walls. Ask for photos of any problem areas they find, so you have documentation to reference when planning repairs or negotiating quotes. Replacing siding in sections rather than all at once can help spread out costs if your budget is tight, as long as you prioritize the sides of the house most exposed to wind and rain.
In most climates, that means tackling the north and west-facing walls first, since they tend to absorb the harshest weather over time. Budget roughly $3 to $12 per square foot depending on the material, with fiber cement and engineered wood sitting at the higher end but offering better longevity than basic vinyl. This step pairs naturally with your roofing work, since many contractors can coordinate both projects to minimize disruption to your landscaping and driveway. Scheduling them together also means a single round of scaffolding or staging, which can shave a meaningful chunk off labor costs. While you’re at it, ask about upgrading the weather barrier underneath the siding, since a modern house wrap can noticeably improve insulation without adding much to the overall project price.
Check Your Heating and Cooling Systems for Efficiency
An inefficient furnace or outdated air conditioning unit can quietly drain your budget every single month, making it one of the smartest places to focus early in your upgrade plan. If your system is more than fifteen years old or requires frequent repairs, it may be costing you more to keep running than it would to replace. Getting a professional opinion before winter or summer hits can prevent an emergency breakdown that forces you into a rushed, expensive decision.
Reaching out to furnace repair companies for a tune-up is a low-cost way to extend the life of your current system while you plan for a larger upgrade down the road. They can also tell you honestly whether a repair makes sense or whether you are better off budgeting for a replacement. This kind of proactive maintenance check should happen annually regardless of your renovation timeline, since it protects one of the most expensive systems in your home.
Consider Zoned Heating and Cooling Alternatives
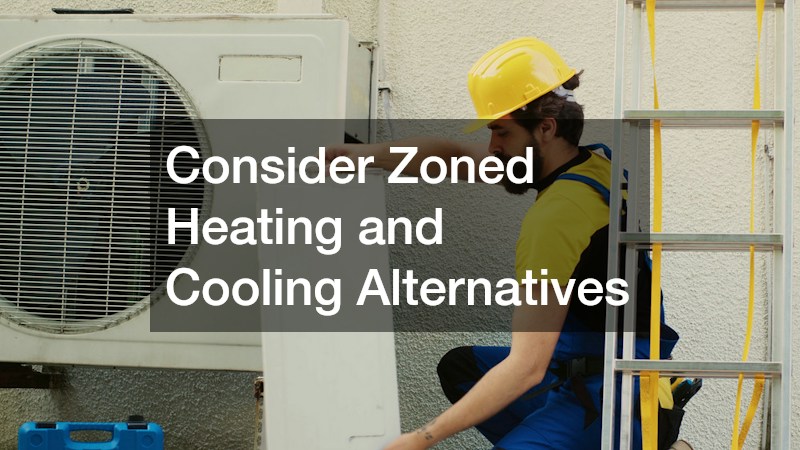
If you are renovating a room addition, finished basement, or garage conversion, traditional ducted systems are not always practical or cost-effective. A ductless mini split system offers a flexible alternative that lets you heat and cool individual rooms without tearing into walls to extend ductwork. This option is especially useful for older homes where the existing HVAC system was never designed to cover new square footage.
These systems also tend to be more energy efficient than running a whole-house system to condition a single room, which can translate into noticeable savings on your utility bills. Installation is typically faster than a full ducted retrofit, and many units come with remote controls or smart thermostat compatibility. If your upgrade plan includes converting unused space into a livable room, this is worth discussing with your contractor early so it gets factored into the budget from the start.
Address Plumbing Before You Finish Any Walls
Nothing derails a renovation budget faster than discovering a hidden plumbing problem after the drywall has already gone up. If your property has older pipes, inconsistent water pressure, or a history of leaks, it is worth having a thorough inspection done before you finalize any kitchen or bathroom upgrade plans. Catching corrosion or outdated materials early means you can budget for the fix instead of absorbing it as a surprise mid-project.
A licensed plumber can also advise on whether your current setup can support new fixtures, like a larger soaking tub or an additional bathroom, without overloading the system. This is especially important if your upgrade plans include adding square footage, since water lines and drainage need to be sized correctly from the start. Getting this step right protects every finish you install afterward, from tile to cabinetry.
Improve Outdoor Living Spaces With a New Deck
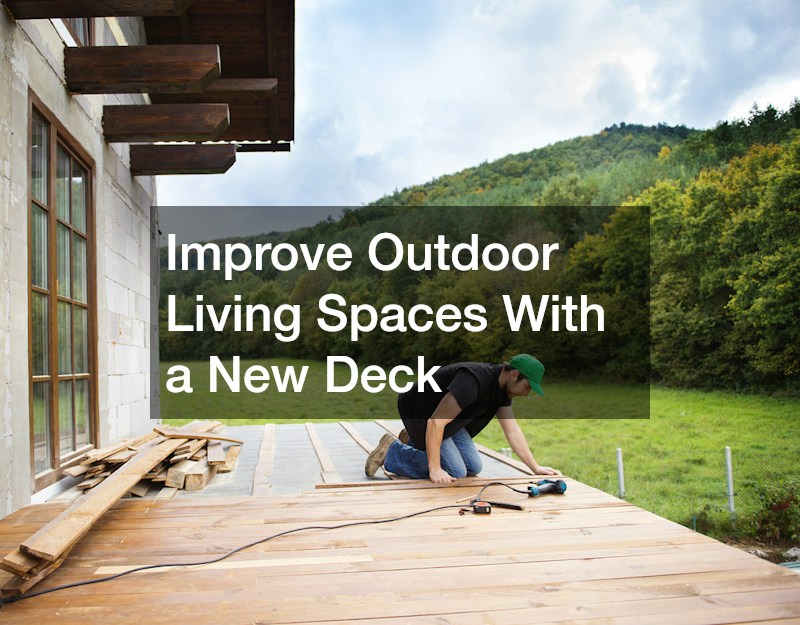
Outdoor living areas consistently rank among the highest return-on-investment upgrades, and a well-built deck can transform how you use your backyard. Rather than guessing at dimensions and materials, working with a deck builder early in your planning process helps you understand what is structurally possible given your yard’s layout and soil conditions. A sloped lot, for example, might require a multi-level design or additional footings, while rocky or clay-heavy soil can affect how posts are set and anchored. A qualified deck builder can also walk you through material choices, from pressure-treated wood to low-maintenance composite boards that hold up better over time. Pressure-treated lumber typically costs less upfront, often running $15 to $25 per square foot installed, but it requires regular staining or sealing to prevent warping and rot.
Composite decking costs more initially, sometimes $35 to $45 per square foot, yet it can last 25 to 30 years with minimal upkeep, which matters if you’re weighing short-term savings against long-term value. Beyond materials, it’s worth discussing size, railing style, and add-ons like built-in seating or lighting before finalizing a budget. A 300-square-foot deck is a common starting point for small to mid-sized yards, but even modest changes in footprint or shape can shift costs significantly. Getting these details settled early keeps the project from ballooning once construction begins.
Budgeting for a deck should include not just materials and labor but also permits, since many municipalities require inspection sign-off for structures above a certain height — typically anything over 30 inches off the ground. Permit fees usually run between $100 and $500 depending on your location and the size of the project, and skipping this step can lead to fines or complications later when you sell your home. If your deck includes stairs or an elevated platform, local codes will likely require secure handrail installation to meet safety standards.
Most codes call for railings at least 36 inches high with balusters spaced no more than 4 inches apart, though specifics vary by region. Factor in the cost of materials like wood, metal, or cable railing systems, since prices can swing significantly depending on the style you choose. Building these requirements into your initial quote avoids the scramble of adding them later as an unplanned expense. It also helps to ask your contractor upfront whether their estimate already accounts for permitting and inspection costs, since some quotes only cover construction. A little clarity here can save you from an awkward mid-project budget conversation.
Protect Outdoor Time With Pest Control Planning
A freshly upgraded deck or patio loses a lot of its appeal if you cannot comfortably sit outside during warmer months because of biting insects. Standing water from gutters, birdbaths, or low spots in the yard can become breeding grounds, so it helps to walk your property specifically looking for these trouble spots. Addressing drainage issues during your broader upgrade plan can reduce the problem before it even starts.
Scheduling seasonal mosquito removal treatments is a practical way to make sure your new outdoor space actually gets used throughout the summer. Many services offer barrier treatments that target resting areas in shrubs and shaded spots, which cuts down on the population without requiring daily effort on your part. Pairing this with your deck or patio project ensures your investment in outdoor living actually pays off in enjoyment.
Upgrade Walkways and Parking Areas for Durability
It is easy to focus renovation dollars entirely on the house itself and forget about the surfaces people actually walk and drive on every day. Cracked walkways and potholed driveways are not just cosmetic issues, since they can become liability concerns if someone trips or a vehicle suffers suspension damage. Including these surfaces in your overall property plan prevents them from becoming the one eyesore that undercuts all your other improvements.
For larger properties or homes with extended driveways, asphalt parking lot paving services can resurface or fully replace a deteriorating surface with a smoother, longer-lasting result. Asphalt tends to be more budget-friendly than concrete for large areas and can often be repaired in sections rather than requiring full replacement. Timing this work for warmer months typically yields better results, since asphalt cures more reliably in moderate temperatures.
Sequence Your Projects to Protect Your Budget

With so many systems to address, the order in which you tackle projects matters almost as much as the projects themselves. Structural and protective elements, like the roof, siding, and plumbing, should always come before cosmetic upgrades, since redoing finished work because of a hidden issue wastes both time and money. Building a phased timeline also makes it easier to spread costs across multiple budgeting cycles instead of trying to finance everything at once.
- Phase one: roof, siding, and plumbing assessments
- Phase two: HVAC upgrades and efficiency improvements
- Phase three: outdoor living spaces, decks, and landscaping
- Phase four: driveways, walkways, and final cosmetic touches
- Revisit your budget after each phase to adjust for actual costs versus estimates
Conclusion
A full property upgrade feels far less intimidating once you break it into clear phases based on what protects your investment versus what enhances your daily enjoyment of the space. Start with inspections for your roof, siding, plumbing, and HVAC systems, then layer in lifestyle upgrades like decks, outdoor pest control, and improved paved surfaces once the essentials are covered. Getting multiple quotes at each stage keeps contractors honest and your budget realistic. With a clear sequence and a little patience, you can transform your entire property without ever feeling like the project has spiraled out of control.