A beautiful yard doesn’t happen by accident. It’s the result of careful planning that balances how you want to use the space with practical realities like drainage, sunlight, and your home’s existing structure. Whether you’re starting with a blank slate or reworking a tired landscape, taking a strategic approach now saves you money, time, and frustration later. This guide walks you through the key decisions that shape a successful outdoor renovation, from the first sketch to the finishing touches.
Starting With a Clear Vision for Your Property
Before you choose a single plant or paver, walk your property and take honest notes about what works and what doesn’t. Pay attention to how sunlight moves across the yard throughout the day, where water tends to pool after rain, and which views you want to highlight or screen out. Homeowners who skip this step often end up redoing sections of their yard within a few years because the original layout ignored basic site conditions.
Think about how your family actually lives outdoors, not just how you imagine using the space. A yard designed for quiet reading nooks looks very different from one built for entertaining large groups or letting kids and pets run freely. Write down your priorities in order of importance so that when tradeoffs come up later, you have a clear reference point.
Bringing in a Professional to Shape the Plan

Many homeowners try to tackle layout decisions alone, only to realize partway through that spacing, grading, or plant selection isn’t working as expected. A landscape designer brings training in site analysis, plant compatibility, and spatial flow that’s difficult to replicate through trial and error. They can also help you visualize the finished project through drawings or digital renderings before any digging begins.
Working with a designer doesn’t mean losing control over your vision. Most professionals start by listening to your goals and budget, then translate those into a workable plan that respects both. This collaborative process typically catches costly mistakes early, such as planting trees too close to underground utility lines or creating drainage patterns that direct water toward the foundation.
Coordinating Your Landscape With Your Home’s Exterior
Your yard doesn’t exist in isolation from the house it surrounds, so the two should feel visually connected. If you’re planning an exterior update alongside your landscaping project, it makes sense to time conversations with a siding company early so color and material choices complement your planting beds and hardscaping. A mismatched exterior can make even a well-designed yard feel disjointed.
Roofline and gutter placement also affect landscaping decisions more than most people expect. Talking with a residential roofing contractor about drainage patterns and roof overhangs helps you avoid planting beds directly in the path of heavy runoff. This kind of coordination between trades prevents soil erosion, mulch washout, and standing water near your foundation.
Designing Outdoor Living and Water Features
Patios, fire pits, and pergolas have become standard requests for homeowners who want their backyard to function as a true extension of their living space. When planning these features, consider traffic flow between the house, seating areas, and any water elements so the layout feels natural rather than cramped. Materials matter too, since certain pavers and decking hold up better in wet or high-traffic climates than others.
If a pool is part of your plans, factor long-term upkeep into the design from the start rather than treating it as an afterthought. Poor water chemistry management or aging equipment eventually leads to costly pool repair, so choosing quality filtration and considering placement relative to trees and debris matters more than most homeowners realize. Positioning the pool away from heavy leaf drop and root systems reduces maintenance headaches for years to come.
- Choose paving materials rated for your local freeze-thaw cycles
- Keep fire features at least ten feet from structures and overhanging branches
- Plan pool equipment placement for easy technician access
- Group water features away from large deciduous trees when possible
Planning Utilities Before Any Digging Begins
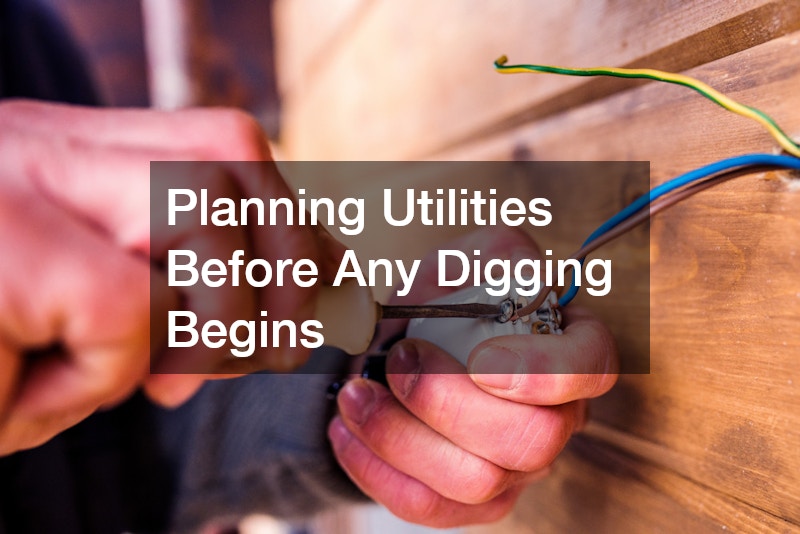
One of the most overlooked steps in landscaping is mapping out what’s underground before construction starts. Irrigation lines, gas lines, and electrical conduits often run through areas that seem perfectly fine for a new garden bed or retaining wall. Bringing in residential electricians during the planning phase helps confirm where outdoor lighting circuits and existing wiring are located, preventing accidental damage during excavation.
Plumbing issues can also surface unexpectedly during a landscaping project, particularly in older homes with aging pipe systems. Signs like unusually soggy patches of lawn or a spike in your water bill sometimes point to a hidden problem requiring slab leak repair before any new hardscaping goes in over that area. Addressing these issues early prevents the frustration of tearing out freshly installed pavers or plants later.
Considering Climate Control for Outdoor Structures
If your landscaping plans include a three season room, outdoor kitchen, or enclosed patio, temperature control becomes an important design factor. These structures face direct exposure to sun, wind, and moisture, so the materials and mechanical systems you choose need to handle bigger swings in temperature than typical indoor rooms.
Proper mechanical insulation in these structures keeps them comfortable across a wider range of weather without driving up energy costs. This might mean insulated roof panels for a three season room, weatherproof insulation around ductwork in an enclosed patio, or radiant barriers behind an outdoor kitchen’s cooking area to manage heat from appliances. Even small upgrades, like sealing gaps around windows or doors, can noticeably reduce drafts and temperature loss.
This is especially relevant for spaces attached to the home, since poor insulation can affect the comfort of adjacent indoor rooms too. A three season room with minimal insulation, for example, can let cold air seep into a connected living room during winter, forcing your HVAC system to work harder. Working with a contractor who understands both landscaping and building envelope performance can help you avoid these costly gaps.
For any outdoor living space you intend to use year-round, it’s worth consulting heating contractors about options like radiant heaters, infrared panels, or small ductless mini-split systems. Radiant heaters mounted overhead can warm a 10×12 patio for a few hundred dollars in equipment alone, while ductless systems offer both heating and cooling for enclosed sunrooms at a higher upfront cost. These additions extend the usable months of your patio or sunroom significantly, particularly in regions with cold shoulder seasons.
Beyond equipment choice, consider fuel source and placement early: gas-line heaters require running a line during construction, while electric units need dedicated circuits sized to the load. Ceiling height, airflow, and proximity to seating also affect how evenly heat distributes across the space.
Planning for climate control during the design phase is far easier and less expensive than retrofitting it after construction is complete. Adding wiring, gas lines, or ductwork later often means cutting into finished surfaces, which can quickly double the project cost.
Extending Your Living Space Outdoors
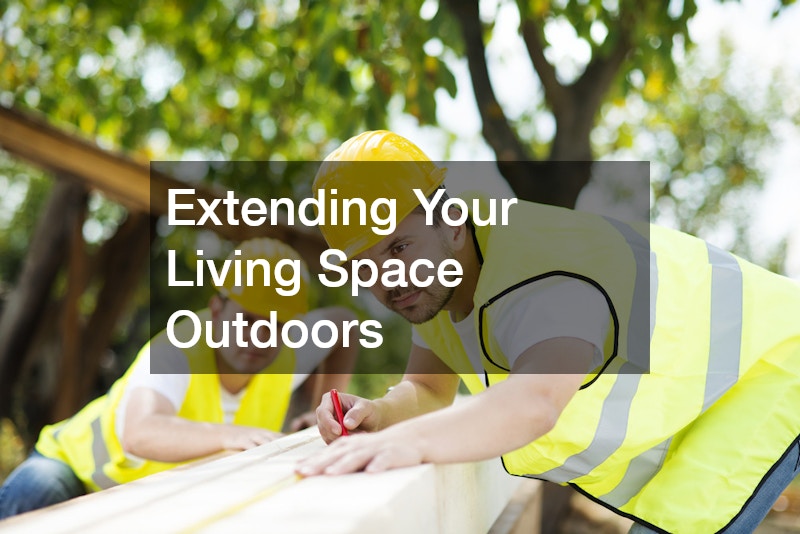
A well-planned landscape often connects to larger home renovation goals, especially when homeowners want more usable square footage without a major addition. Some choose to finish underused areas like a basement for additional indoor gathering space while simultaneously upgrading the backyard for outdoor entertaining. Basement finishing paired with a new patio or deck effectively doubles a home’s entertaining capacity across both levels.
If your landscaping project is part of a broader renovation, coordinating with a home remodeling company can help align timelines and avoid duplicated work. For example, exterior door placement, window additions, or deck attachment points all affect how your yard design comes together. Planning these elements as one connected project, rather than separate afterthoughts, typically produces a more cohesive result.
Setting a Realistic Budget and Project Timeline
Landscaping costs vary widely depending on materials, site conditions, and the scope of hardscaping versus planting. As a rough benchmark, homeowners can expect to spend anywhere from a few thousand dollars on basic plantings and mulch to $25,000 or more for projects involving patios, retaining walls, or outdoor kitchens.
Homeowners often underestimate expenses tied to grading, drainage correction, and utility work, which can consume a significant portion of the budget before any plants go into the ground. A property with poor soil drainage, for instance, may require French drains or a regraded slope, adding $2,000 to $5,000 before the visible design work even begins. Utility markouts and unexpected rock or clay layers can add further costs once excavation starts.
Building in a contingency fund of at least fifteen percent helps absorb these unexpected costs without derailing the entire project. It’s also wise to sequence spending in phases—prioritizing structural and drainage work first, then hardscaping, and finally softscaping—so that if funds run tight, the most critical elements are already secured. Getting at least three itemized quotes can help homeowners spot inconsistent pricing and better anticipate where hidden costs are likely to surface.
Phasing a large landscaping project over one or two seasons is often more manageable than trying to complete everything at once, both financially and logistically. A common approach is to tackle hardscaping first—grading, drainage, patios, or retaining walls—in year one, then move to planting beds, irrigation, and lighting in year two once the structural work has settled.
This staged approach also lets you evaluate how earlier phases perform before committing to later stages. Watching how new plantings establish through a full growing season, or how a patio holds up through winter freeze-thaw cycles, can reveal issues while they’re still cheap to fix. It also gives your budget room to recover between phases rather than draining it all at once.
Breaking the project into 3-4 distinct phases, each with its own budget line and timeline, also makes it easier to pause if priorities or finances shift midway through.
- Request itemized quotes from at least three contractors, breaking out labor, materials, and equipment costs for accurate comparison
- Prioritize structural and drainage work—grading, retaining walls, irrigation lines—before investing in decorative elements like plantings or hardscaping accents
- Set aside a contingency fund of 10-20% of total project cost to cover unexpected site conditions such as poor soil, hidden rock, or drainage issues
- Break large projects into phases tied to seasonal planting windows, scheduling hardscaping in fall or winter and planting in spring or early fall
- Confirm each phase’s start and end dates with contractors in writing to avoid scheduling conflicts or costly delays
- Factor in a buffer of two to four weeks between phases to accommodate weather delays or material backorders
Maintaining Your Landscape Through the Seasons
Even the best-designed yard requires ongoing care to stay healthy and attractive. Seasonal tasks like pruning, mulching, and irrigation adjustments keep plants thriving while preventing small problems from becoming expensive repairs.
Spring calls for fertilizing beds, applying pre-emergent weed control, and refreshing mulch to a depth of 2-3 inches to retain moisture. Summer maintenance shifts toward consistent watering—typically 1 to 1.5 inches per week—along with deadheading flowers and monitoring for pests before infestations spread.
Fall is the ideal time for core aeration, overseeding thin patches of lawn, and clearing fallen leaves that can smother grass and invite fungal disease. Winter, meanwhile, is best spent pruning dormant trees and shrubs and protecting vulnerable plants from frost damage.
Establishing a maintenance calendar early helps you stay ahead of these recurring tasks rather than scrambling to catch up each spring, and it makes budgeting for professional help far more predictable.
Long-term success also depends on periodically reassessing your landscape as trees mature and family needs change. Plan a formal walkthrough every 3 to 5 years, or after any major life event like a new baby, an empty nest, or a move toward retirement. A yard designed for toddlers with open lawn and soft play surfaces might need reworking a decade later for teenagers who want a fire pit or sport court, or for aging homeowners who prefer raised beds, wider pathways, and lower-maintenance plantings.
Building flexibility into your original design makes these future adjustments far simpler and less costly. Choose modular hardscaping, like paver patios instead of poured concrete, so sections can be reconfigured without a full teardown. Leave irrigation and electrical stubs in place for future additions such as lighting, water features, or an outdoor kitchen. Planting fast-maturing shrubs near slower-growing anchor trees also gives you room to edit the layout as the landscape fills in, without waiting years for a redesign to look established.
A thoughtfully planned landscape adds lasting value and enjoyment to your property, but only when the strategy behind it addresses both beauty and practicality. Take time to map out your priorities, involve the right professionals for specialized elements, and build a realistic budget that accounts for the unexpected. With a clear plan in hand, you’ll be ready to move forward confidently on a project that serves your family for years to come.